Image gallery
You will require this information when you would like to add an image gallery to anywhere on your website where the rich text editing funciton is available.
Step-by-step guide to creating an image gallery:
- Navigate to the place on your website that you would like to add an image gallery to (make sure that you are logged in, and that you have the appropriate editing privileges).
- Click edit on the item of content, tile or portlet that you would like to add the image gallery to.
- Navigate to the rich text editing field in the edit form for the content that you would like to add your image gallery to.
- Place the cursor in the text box, in the location that you would like to add the gallery.
- Once you have a blinking cursor in the correct place (don't worry too much, you can move the gallery later, if required), click on the table function located on the formatting bar.

- You will be presented with a pop-up on your screen:
- The pop up has two tabs.
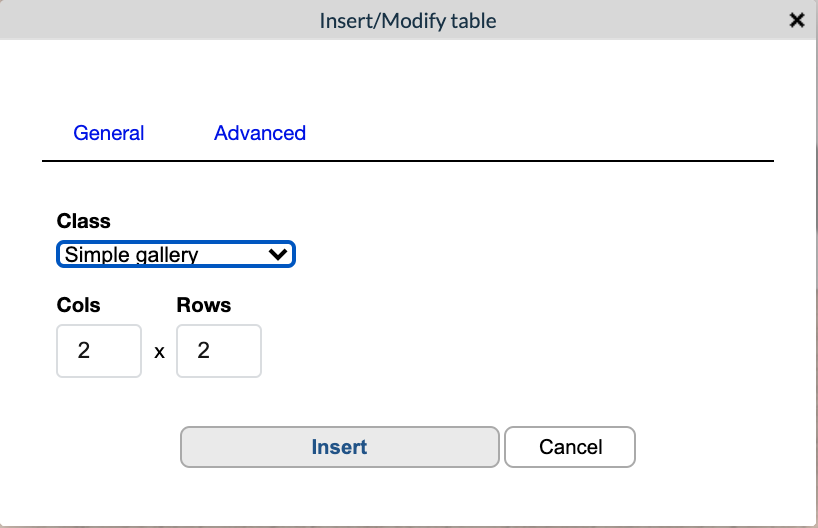
- Tab one - 'General':
- 'Class'
- This drop down menu allows you to select the type of table that you would like on your page. For the image gallery, click on the drop down menu, and select the 'Simple gallery' option.
- 'Cols'
- This field defines the number of columns that your table to be used as a gallery will have - don't worry if you need to add or remove any of the columns later, you can do so easily.
- 'Rows'
- This field defines the number of rows that your table to be used as a gallery will have - don't worry if you need to add or remove any of the rows later, you can do so easily.
- 'Class'
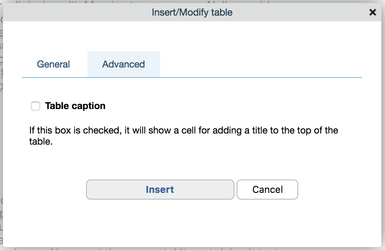
- Tab two - 'Advanced':
- 'Table caption'
- If this box is checked, it will show a cell for adding a title to the top of the table. Using this field will enable you to give your gallery a title, or a description for your users.
- 'Table caption'
- Tab one - 'General':
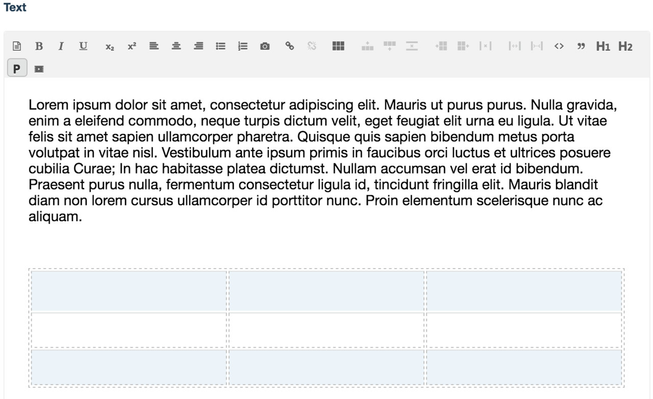
- Once you have defined all of the options to your specification, click 'Insert'.
- Once you have inserted your table, you will see it in the text editor - Note: the rows will be shaded alternatively to help you identify the rows when editing. The shading in the rows will not show.
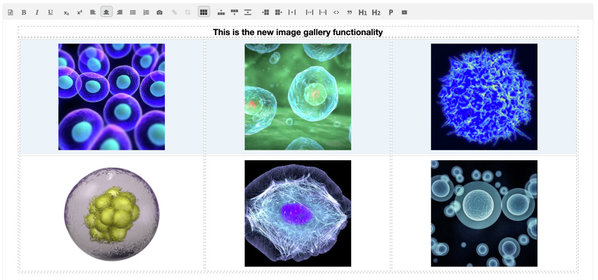
- You are now ready to start to populate your table. To add an image to a cell, click your cursor into the cell where you would like to place the image, and click on the insert/edit media button

- There are three steps to selecting and putting the image in the table:
- Select your image from the image library (note, you can only use images in the 'Simple image gallery'.
- Select the alignment of your image in the cell (inline, left, right, centre) - you can change this later using the justification settings on the formatting bar.
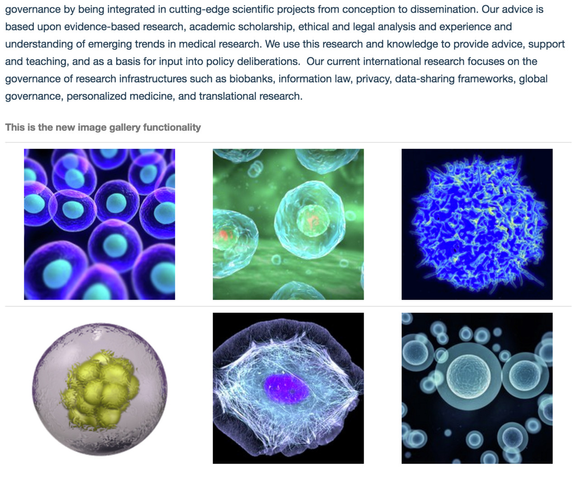
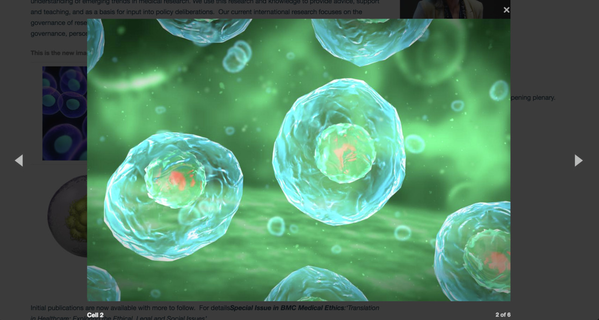
- Select the size that you want the image to be in the table - the most important thing here is to make sure that your images are consistent for the layout of your table. For example, if you have 6 cells, squares work well, and the optimum size for this number is 200x200. Whatever size you choose for your image, when a visitor to your website clicks on any of the images, they will see a layover on the screen, that shows a gallery of the images at their full size that they are when uploaded to your Haiku website.
Related articles