Setting up the Master Blueprint
Blueprints are a great way for you to tag questions inside Practique. You can then use these tags to produce detailed reports and categorisation of exam data, such as your curriculum and domains of competence.
Step-by-step guide
- The first thing you may want to do is to set up your Master Blueprint. This will contain all of the categories of information that you want to be able to assign when tagging individual questions. The blueprinting section can be reached directly from the dashboard.
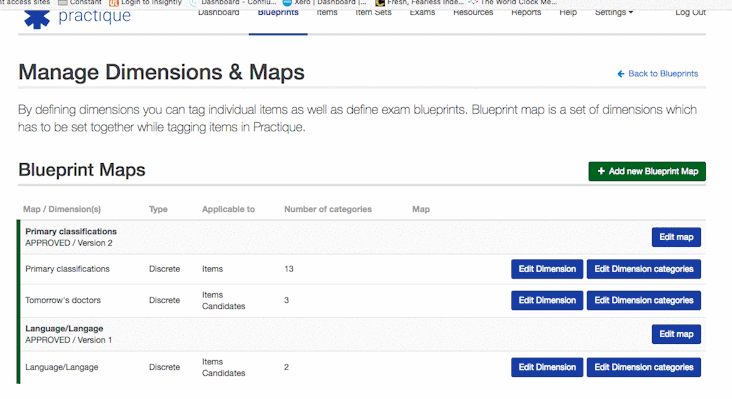
- Clicking Manage blueprints → Edit Master Blueprint will take you to the page where you can begin to setup your Blueprints using the Dimensions and Categories.
- The Dimension is the name of the type of blueprint field you wish to create (Ex. Year of Study). Click on "Add new Dimension" and type in the name. You will also need to set if you want to have this Dimension as a drop down list (Discrete) or a free text field (Text)
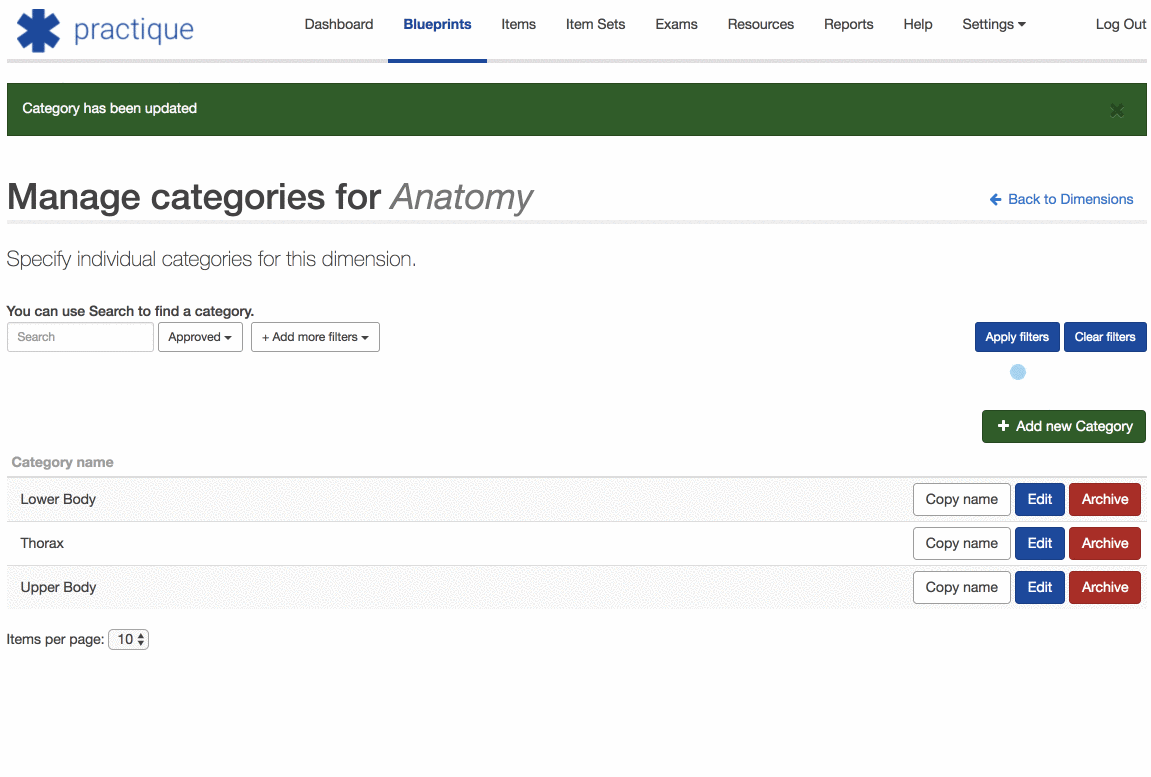
- The Categories sit within the Dimension and are the different types of Blueprint tag that wish to assign to an Item (Ex. Year 1, Year 2, Year 3.......) Categories are grouped by dimensions, in the example shown above we have entered "Year of study" and selected its type to Discrete (which means a drop down list). Clicking Edit on this dimension once it has been created will take you to the next page where you can add your individual blueprint categories that you wish to sit within that dimension.
- When adding categories, it is also possible to create a hierarchy within the dimension. This is done by adding a 'parent' category when creating the category. This can be seen here:
- You can specify that Dimension is Applicable to Item, Candidate, Examiner or any combination of these. You can see for example below that Year of Study can be set to be applicable for both Items and Candidates. This allows you to create Dimensions which you can use for grouping or filtering Candidates and Examiners. See Managing Candidates and Examiners for more details about this feature.
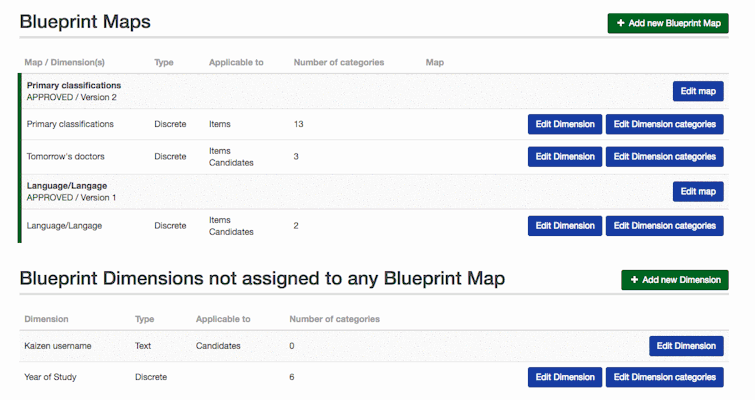
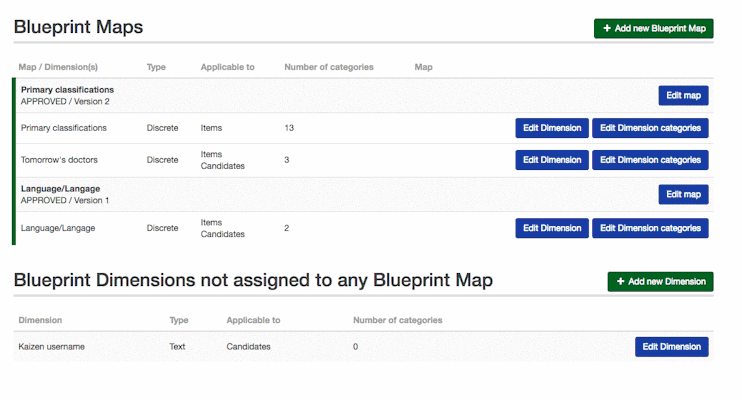
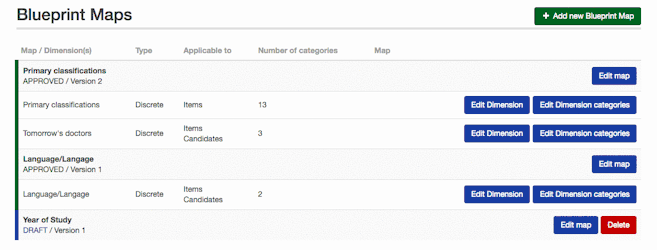
- IMPORTANT: in order for you to be able to actually tag anything with your Blueprints you will need to create a Blueprint Map using your Blueprint Dimension.
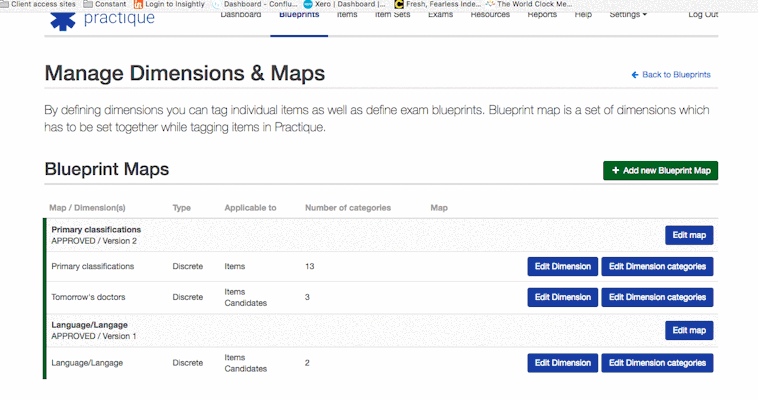
- Once you have created the Blueprint Map you can add the Blueprint Dimension you have previously set. You will then need to submit for approval. Note: you can add multiple blueprint dimensions to a Blueprint Map for Multidimensional tagging. This allows you tag Items with multiple dimensions that are linked.
Note: After creating a few dimensions and categories within them you should end up with an ordered set of tags which can be added to questions you will create later. You can later filter by these tags and report on them after an exam.
Related articles